Summary
Well, that wraps up this GIMP tutorial. By now, you should be starting to know your way around GIMP. There's a lot to GIMP... but we've covered a lot in this tutorial.
Here are some of the things we learned:
- We learned that GIMP stands for GNU Image Manipulation Program, and allows you to create and manipulate images.
- We created a basic image.
- We learned about tools that enable us to create more complex images.
- We learned about image formats and why it's important to save our images in the correct format.
- We learned how to resize images.
- We learned how to add color to an image
- We learned how to add text to an image
- We learned how to apply filters to images
- We created animated two GIFs - using two separate techniques.
- ...and much more
What Next?
Now that you've finished this tutorial, it would be a good idea to experiment. Create new images. Modify existing ones. Use the tools outlined in this tutorial to help you create an original image.
Also check out the following.
-
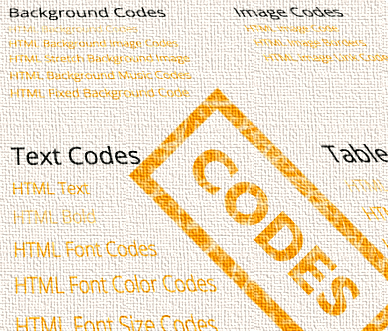
HTML Codes
Extensive list of copy/paste code examples. Copy and paste straight into your website, blog, or newsletter.
Includes image codes, such as background images, linked images, and embedding images into web pages.
Go to HTML Codes -

CSS Tutorial
CSS stands for Cascading Style Sheets, and it is the standard way of styling web pages.
This tutorial provides an overview of CSS, including add background images to an HTML element.
Go to CSS Tutorial -

CSS Properties
Full list of CSS properties.
Alphabetical list of CSS properties as per the W3C specifications.
You can use CSS to add your web graphics to a web page. Specifically, you use CSS to add an image the background of an element or a border.
Go to CSS Properties