Install DBeaver on a Mac
How to install DBeaver on a Mac so you can manage SQL Server and other database management systems.
DBeaver is a database management tool with a graphical interface similar to SQL Server Management Studio (SSMS). However, SSMS is only available on Windows machines, so if you run Mac or Linux, you need to look for alternatives.
Fortunately, DBeaver steps up as a popular (and free) alternative.
Here are instructions for installing DBeaver on a Mac.
-
Download DBeaver
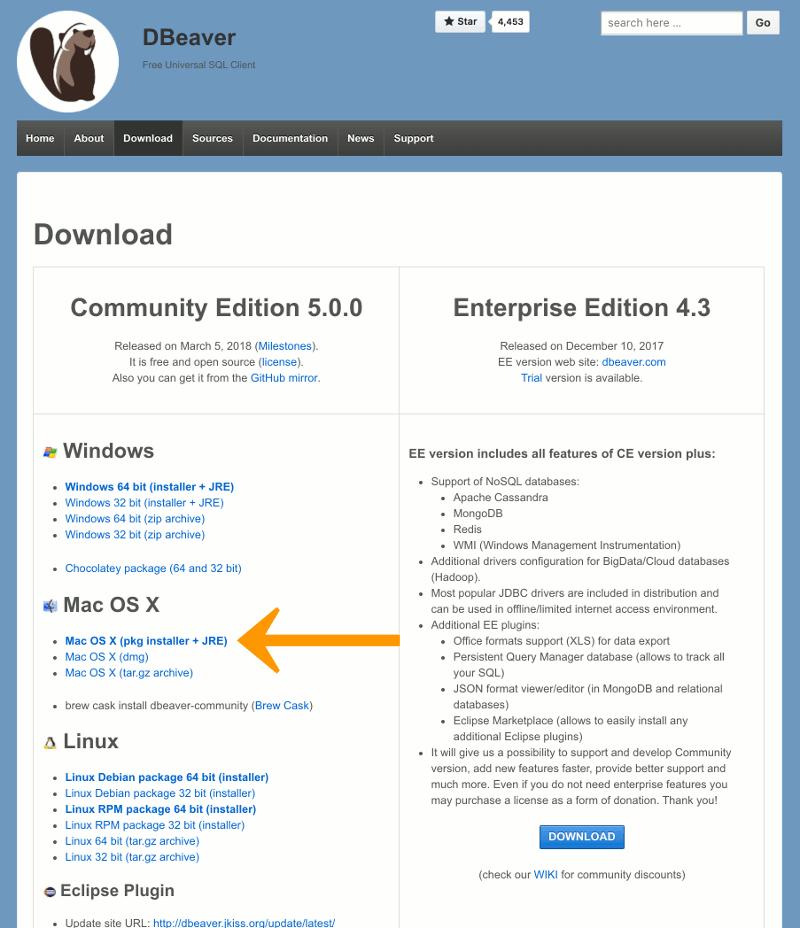
Go to the DBeaver download page, and click the pkg installer + JRE option.
-
Launch the Installer
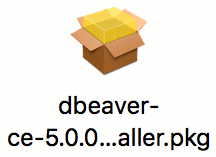
Double-click the installer icon to launch the installation wizard.
-
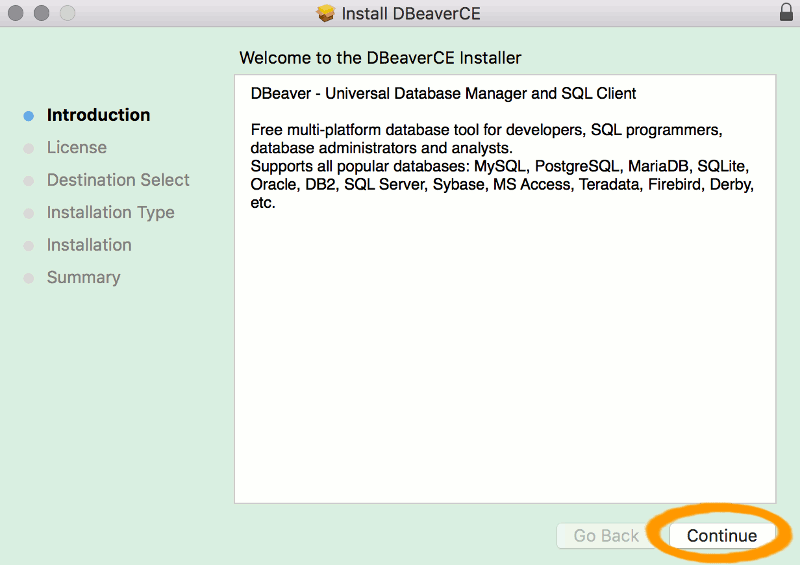
Start the Installation Process
Click Continue.
-
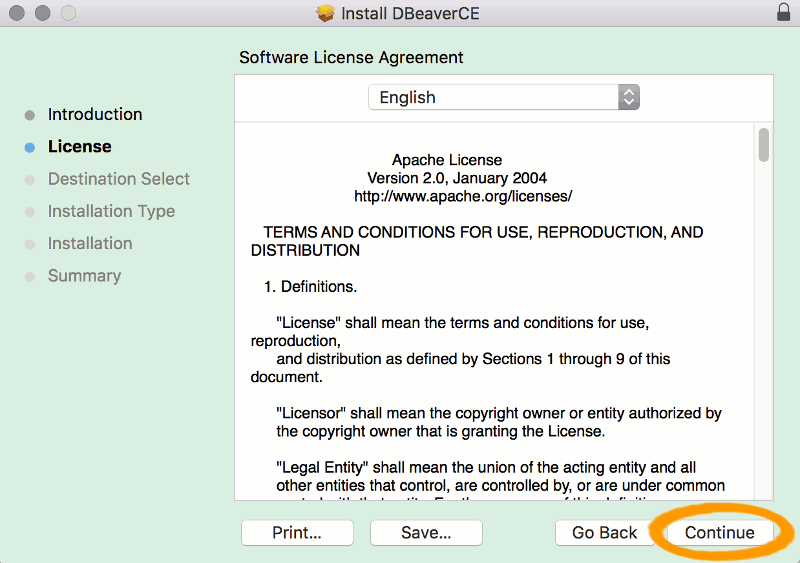
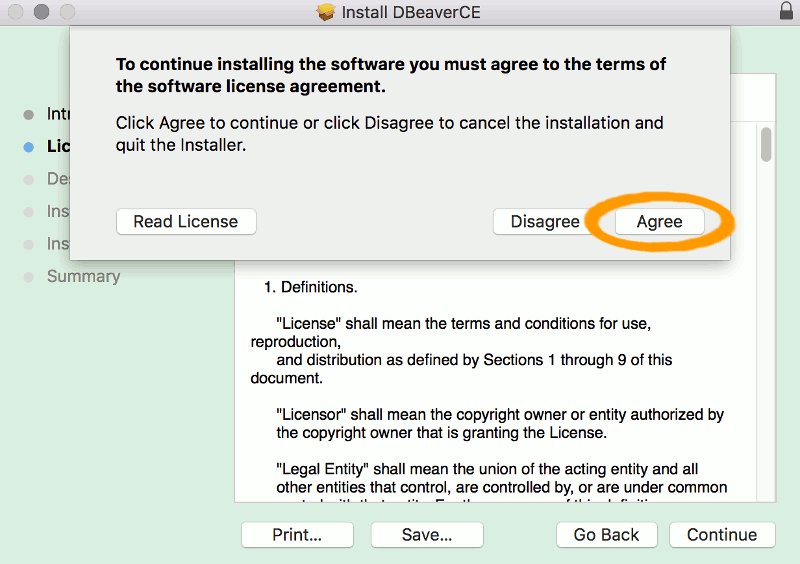
Accept the License Agreement
Click Continue to accept the license agreement (assuming you accept it).
Click Agree on the pop up box.
-
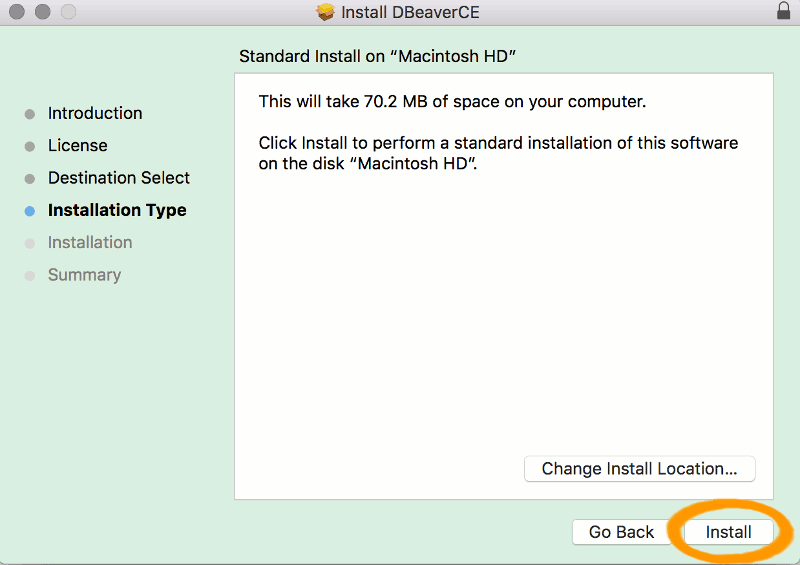
Select the Install Location
Click Install to install DBeaver in the default location. Otherwise click Change Install Location and choose another location.
-
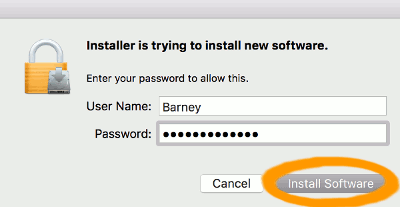
Enter Password
If prompted for a password, enter it and click Install Software.
-
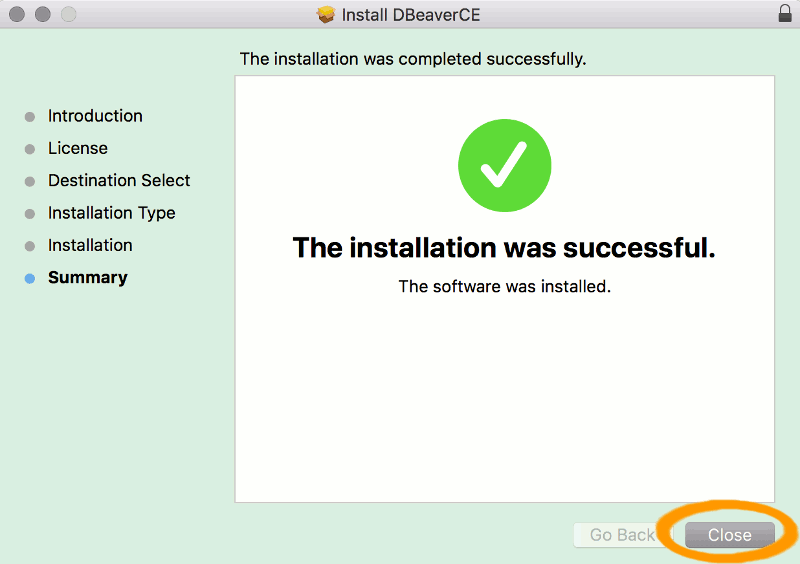
Installation Successful
Once DBeaver has been installed, a message is displayed stating that the installation was successful. Click Close to close the installer.
-
Remove the Installer File
If a prompt appears asking if you want to move the installer file to the Trash, click Move to Trash (unless you have reason to keep it).

DBeaver is now installed. Now you can launch it and connect to your database.