Connect to SQL Server with DBeaver
Step-by-step tutorial on connecting to SQL Server with DBeaver.
Once you've installed DBeaver, you'll probably want to connect to a database. below are instructions for connecting to SQL Server using DBeaver on a Mac.
Note that, although this tutorial uses SQL Server, DBeaver supports many different database management systems.
-
Launch DBeaver
Click on the DBeaver icon (either in your Launchpad or the Applications folder) to launch the DBeaver application.

-
Launch the New Connection Wizard
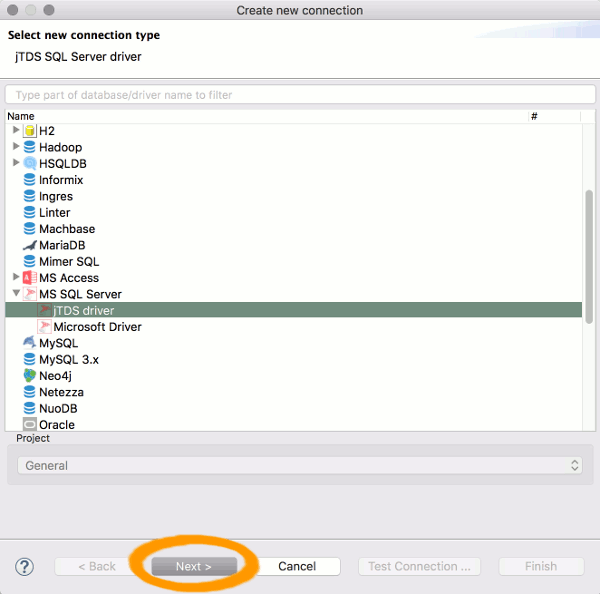
If this is the first time you've launched DBeaver, you'll probably be prompted with the Create new connection dialog.
Expand the SQL Server node, select jTDS driver, and click Next >.
-
Enter Connection Settings
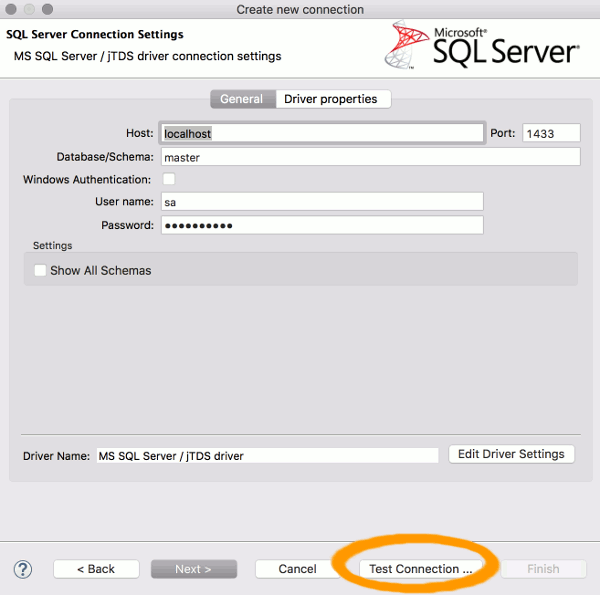
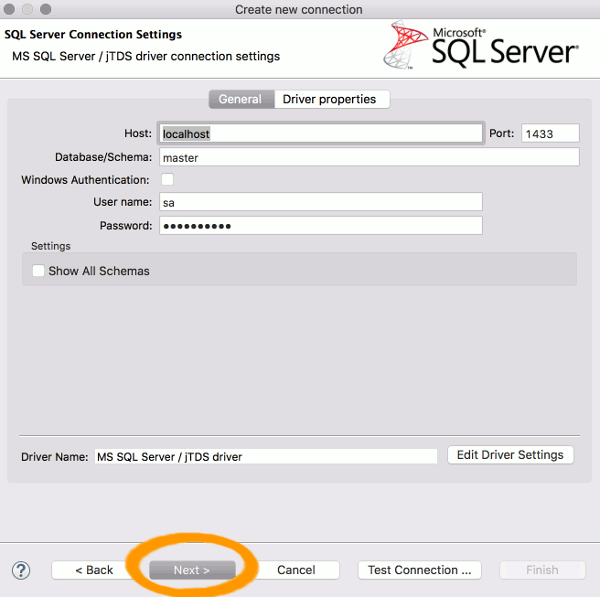
Enter the connection settings for the SQL Server instance that you'd like to connect to.
If the SQL Server instance is running on your local machine, use localhost.
Also click Test Connection to see if there are going to be any problems with the connection or not.
-
Download Driver Files (if required)
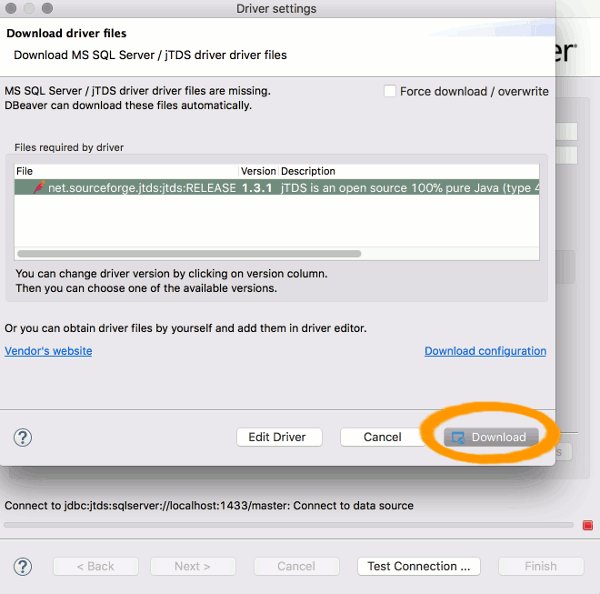
The connection wizard will tell you if you need to download any driver files. If you do, select the file/s and click Download.
-
Success Dialog Box
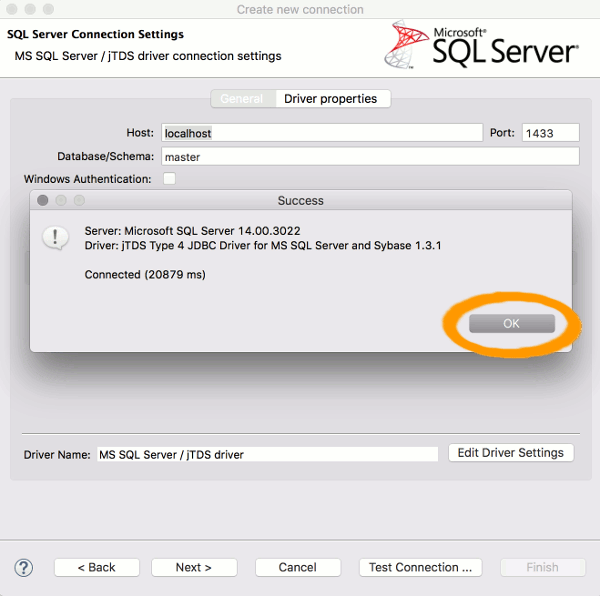
Once the driver has downloaded, a Success dialog is displayed. Click OK.
-
Continue with the Connection
Now that the driver has been downloaded, click Next > to continue with the connection.
-
Network Settings
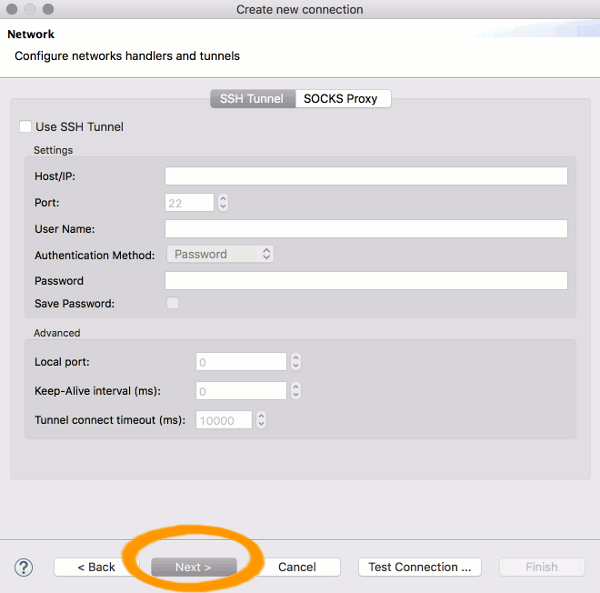
This step gives you the option of entering any network settings that are required to access the SQL Server.
In this case, the SQL Server is running locally, so leave the default settings and click Next >.
-
Finish
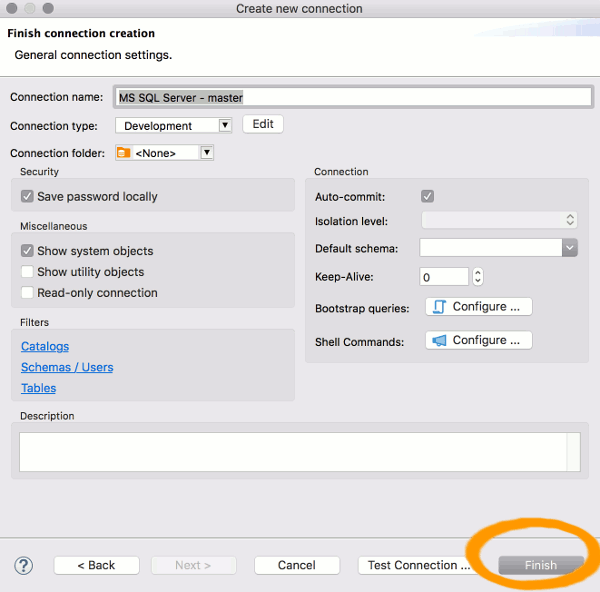
Change any settings as required. For this tutorial, I left them all at the default settings.
Click Finish to create the connection.
That's it. We just made a new connection to SQL Server with DBeaver.
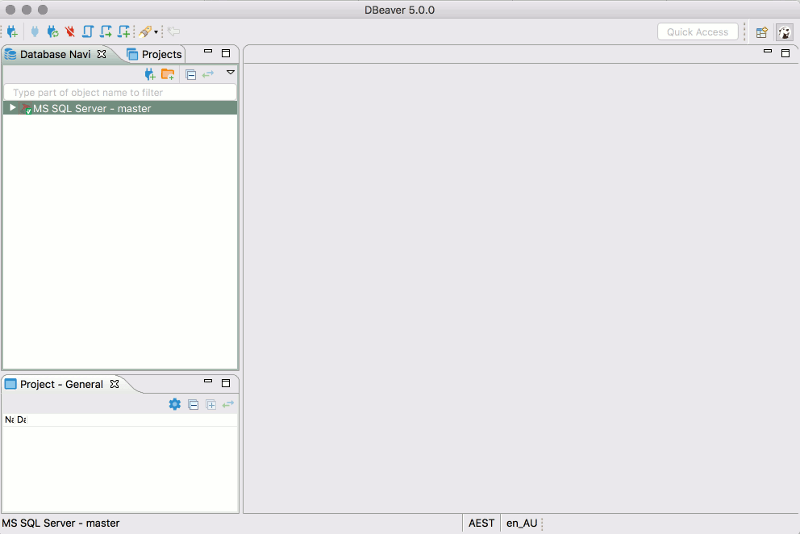
The DBeaver interface is now displayed:
