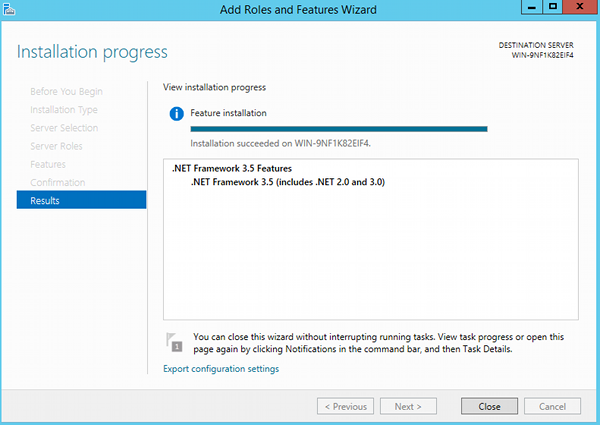
Install .NET 3.5 Framework on Windows 2012 R2
If you're installing SQL Server 2014 (or any number of other software applications), you might find yourself having to install the .NET 3.5 Framework before you can proceed any further.
You can install this prior to installing SQL Server 2014, or during. If you do it during, you will need to keep the SQL Server installation window open while you go off and do this. Therefore, it's recommended that you install .NET 3.5 first.
Here's how you can install the .NET 3.5 Framework onto your server.
- Open the Server Manager
- Click Manageand then select Add Roles and Features
- The Add Roles and Features Wizard will appear. Click Next
- On the Select installation type screen, select Role-based or feature-based installation and click Next.
- Select the server you want to install .NET 3.5 onto and click Next :
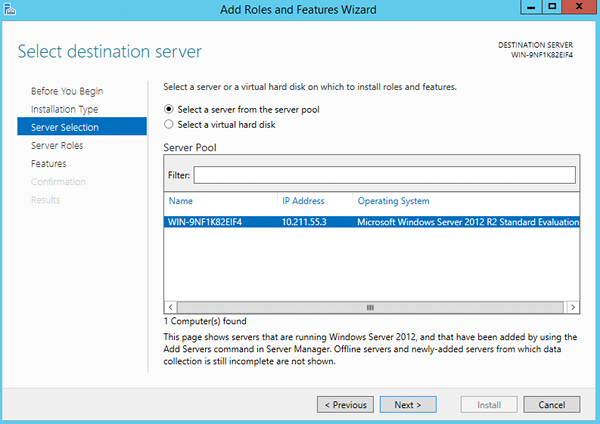
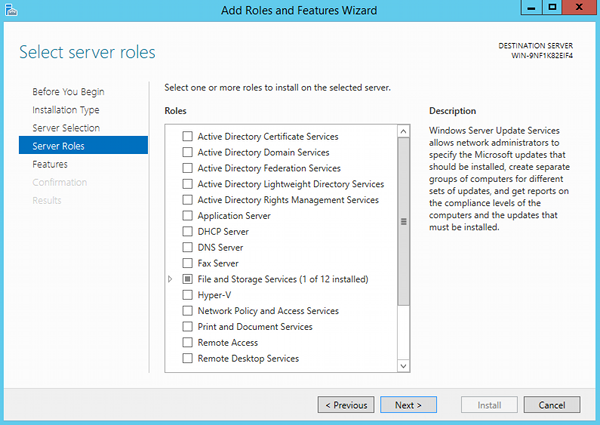
- On the Select server roles screen, click Next without selecting anything:
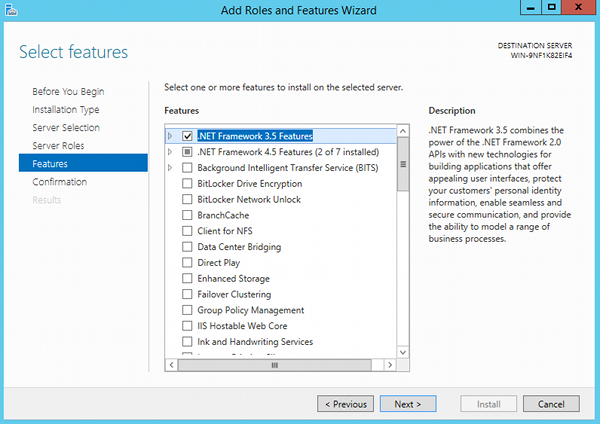
- On the Select features screen, check .Net Framework 3.5 Features and click Next:
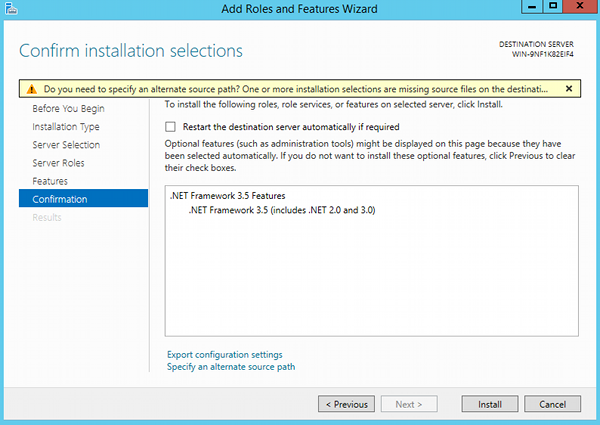
- On the Confirm installation selections screen, a warning will be displayed that reads Do you need to specify an alternate source path?. If the target computer does not have access to Windows Update, click the Specify an alternate source path link (at the bottom of the dialog box):
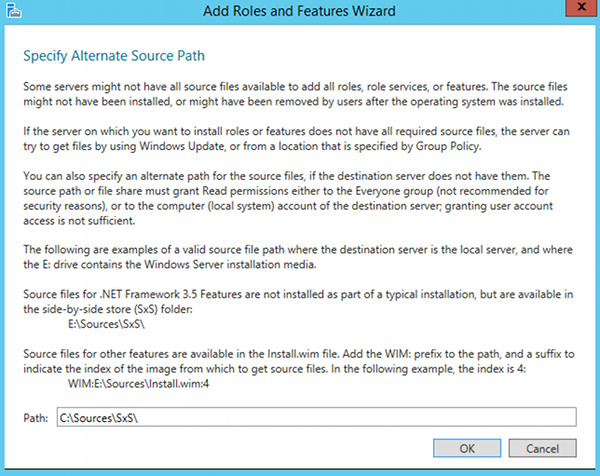
- Specify the path to the \sources\sxs folder on the installation media and then click OK
Only perform this step if you had to specify an alternate path.:
- After you have specified the alternate source, or if the target computer has access to Windows Update, close the warning (by clicking the x), then click Install.
- Once .NET Framework 3.5 has been installed, the screen will tell you Installation succeeded on (computer name). Click Close (and you can continue on with whatever you were doing before you discovered that you needed .NET Framework 3.5):
